Thursday 29 September 2011

Homemade Tomato Chutney

Firstly, my apologies as this is apparently my first blog in 2 weeks! I recently started university (waaah, so scary!) and with freshers, inductions, lectures etc., my life has become unbelievably hectic! I do, however, have a lot of bakes coming up, so keep your eyes peeled!

Somehow, I actually managed to have an afternoon to myself last Sunday and, seeing as my brother had suggested I made some chutney, I though I'd man up and give it a go!


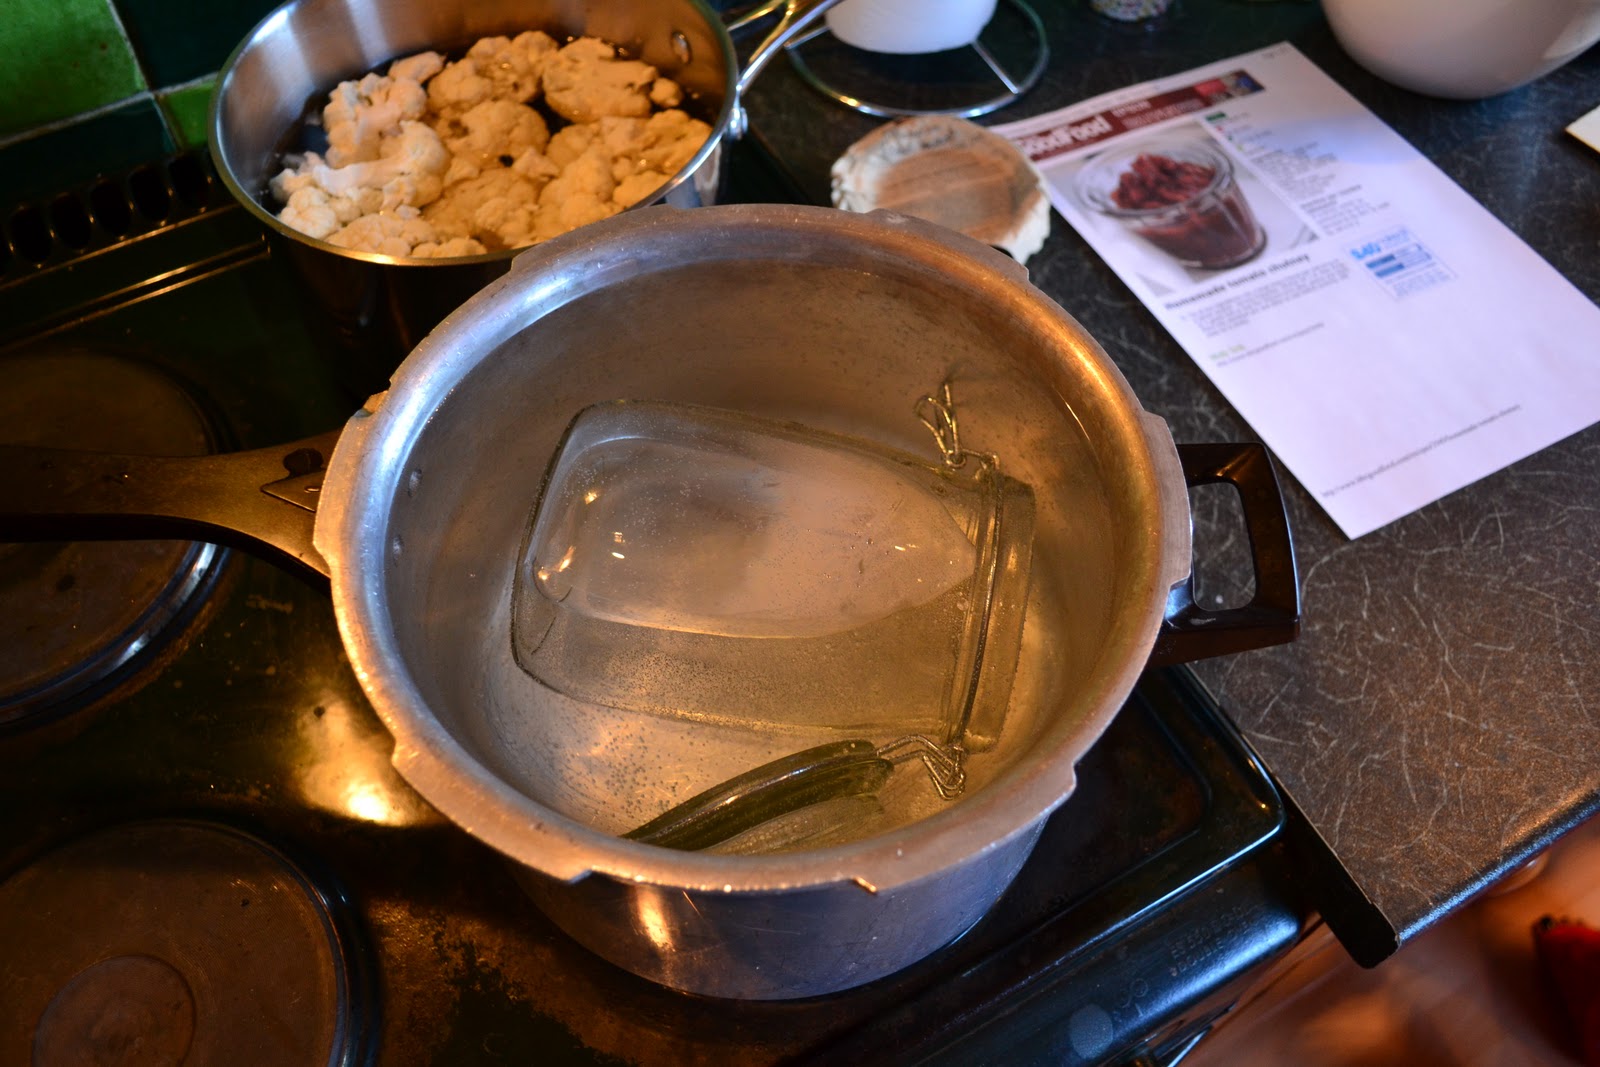
Firstly, we had to sterilise the jar which, according to the instructions, needed to be immersed in water and have at least 3cm above it. This proved difficult as our largest pan had cauliflower in it (see above photo!) and we therefore had to use a pressure cooker. This was a laborious task but it allowed me to do all the prep needed.


Adding the red wine vinegar really made me excited about the chutney, it smelt beautiful! There was absolutely nothing difficult about this recipe, we literally threw everything into the pan and watched it simmer.


Despite the long wait, it eventually broke down and produced a lovely chutney which tasted more oniony than tomatoey but is delicious nonetheless!


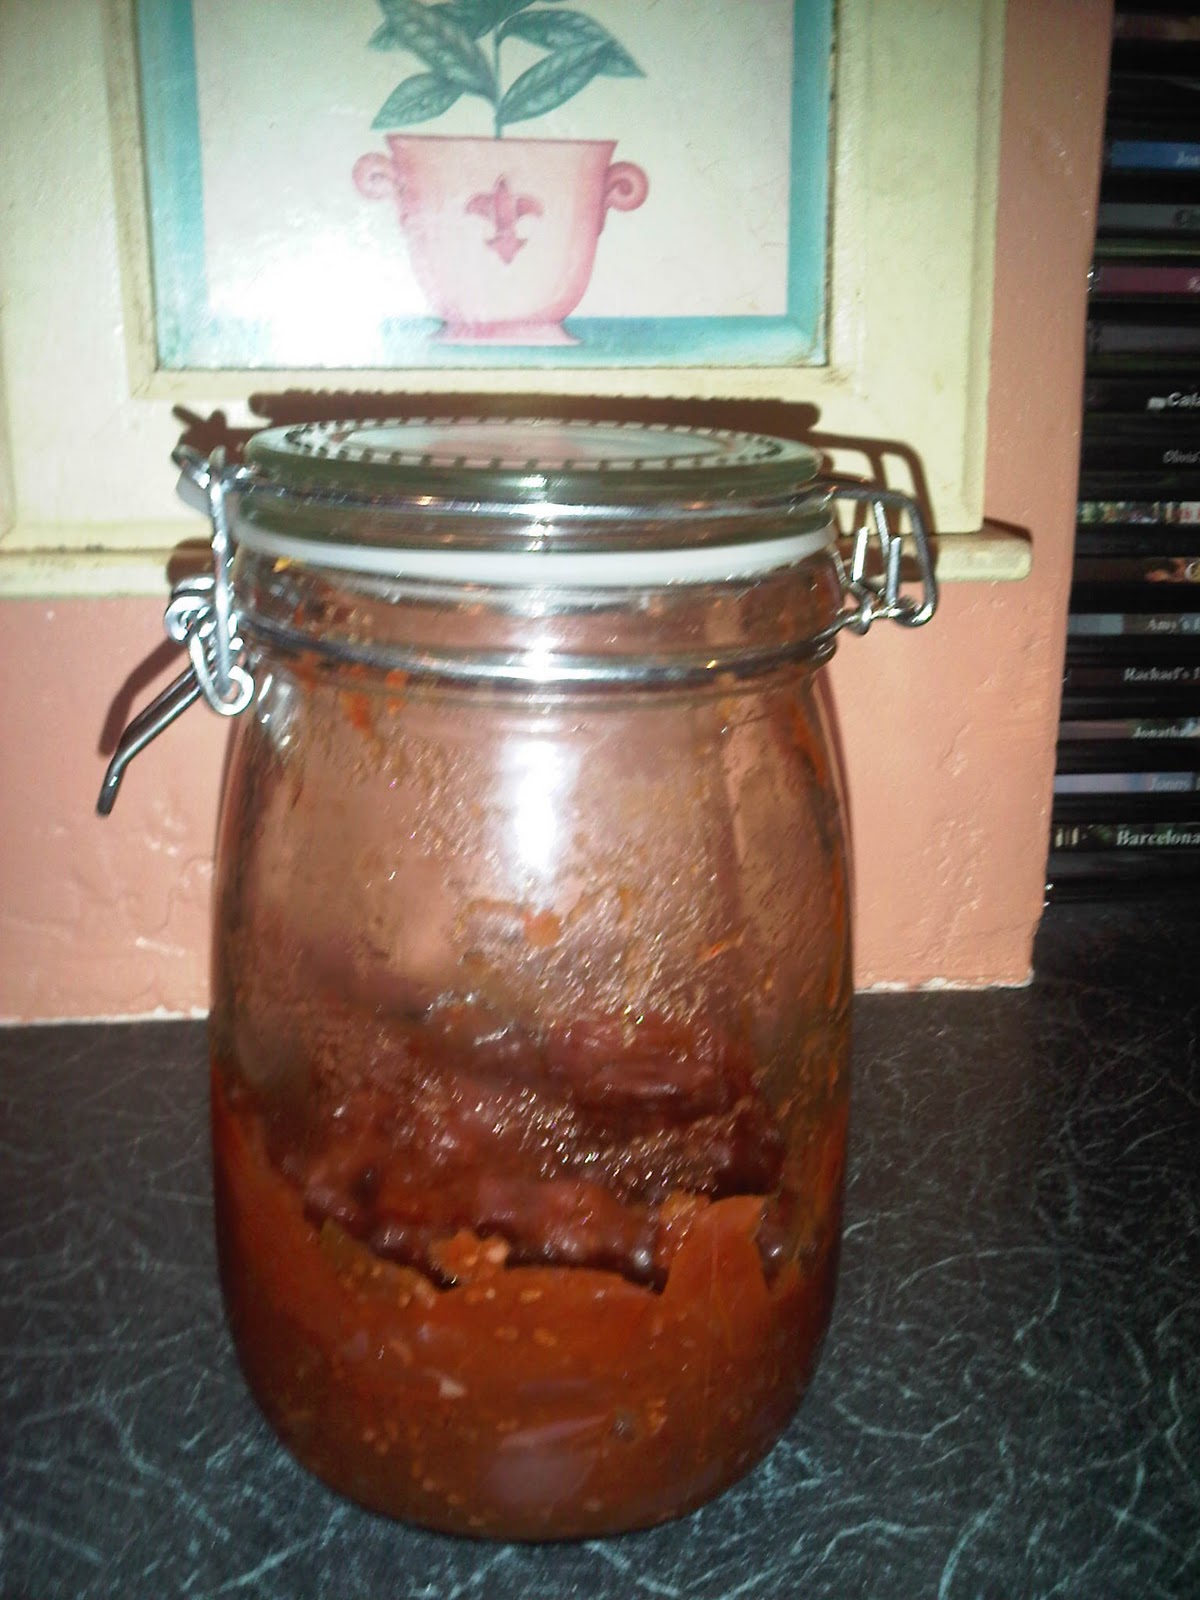
Apologies for the poor photo, it had been eaten by the time I got to take a photo and it was dark!


Homemade Tomato Chutney- from the BBC Good Food website

Ingredients:

500g red onions , finely sliced
1kg tomato , chopped
4 garlic cloves , sliced
1 red chilli , chopped (optional)- we used half a green chilli as it was all we had
4 cm piece ginger , peeled and chopped- we didn't use this, no one but my mum likes it!
250g brown sugar
150ml red wine vinegar
5 cardamom seeds- again, we skipped these
½ tsp paprika 

 Method:

Tip all the ingredients into a large heavy-based pan and bring to a gentle simmer, stirring frequently
Simmer for 1 hr, then bring to a gentle boil so that the mixture turns dark, jammy and shiny
Place into sterilised jars and allow to cool before covering
Will keep for 6 weeks
Enjoy!

Thursday 15 September 2011

My New Baking Buys!

My whole family have now clocked onto the obsession I have with baking and all that comes with it. This, apparently, is not a bad thing as I get presents like this...


As a thank you for babysitting over the summer, my aunt bought me these as a way of encouraging me further into attempting decorating cakes. Here, I have an icing turntable, a rolling pin, a modelling tool, some flower cutters, a 'decorating triangle' and a book on how to use these mind baffling tools. I was hugely touched that so much thought had gone into these and was immediately compelled to go buy icing and bake cake. I chickened out, of course...


Alongside this, my OH's mum bought me this book following a conversation about how I learnt to bake at the side of my grandma who always had her trusty BeRo at hand. All of the recipes that I remember are in there; Maids of Honour, Viennese Fingers, the lot!


I've also made a few of my own buys recently, all of which kept Lakeland in business! I bought icing to go with my new presents, a new piping set to replace the rubbish excuse for a piping bag I currently have and I also bought a new cookie cutter which the woman forgot to take out of the basket and scan, hmmm....

Lakeland currently have a buy one, get one half price offer going on and I bought a new baking sheet that gratefully isn't silicone and a cake ring which is effectively a bundt tin! My brother also bought me an icing spatula so I am one very happy girly!

Monday 12 September 2011

Help! My Scones Won't Rise

First of all, I'd like to say thanks to my brother, who wrote my first ever guest blog! His photos were amazing and from here on, he will be taking photos for my blog when he can!

On a sadder note, I made a batch of scones today that, once again, didn't rise! I've tried everything from cutting them smaller/bigger/thicker, Delia to BBC Good Food, adding more/less cheese, the lot!


Here, I used the recipe from the BBC Good Food channel and I followed the recipe word for word and yet mine look nothing like theirs do! I did get 20 out of a recipe for 8-12 but this surely cannot be the reason as mine were cut out at 2cm thick like instructed!


Someone PLEASE help me?!

Friday 9 September 2011

Guest Blogger: Baking Bread with Brother


There's something that has always fascinated me about bread - the fact that a few simple ingredients can be combined together to become one of the tastiest, most comforting and popular foods in the world is in no small part why bread is a true food icon.
Unfortunately, bread that you buy is often far from the ideal loaf. Full of preservatives, often flavourless and stodgy - it’s a wonder why people don’t just bake their own.

As a direct result of the success of Ray's Sundried Tomato Bread from a few weeks ago, I have been inspired to get my hands dirty and bake some of my own bread - as such, Ray asked me to write this guest blog spot to chart my success.

So today I am making two loaves - a classic white bread loaf, and a second sundried tomato loaf. Unlike the last sundried tomato loaf however, which was baked according to a modified recipe for sundried tomato bread rolls from the Great British Book of Baking - this time I would be using a classic white loaf recipe from the BBC Good Food website, and into one of the sets of ingredients be adding a good handful of chopped sundried tomatoes. Now, it is fair to say that despite having been making bread for similar amounts of time, my sister is the better baker out of the two of us. It wasn’t until after following through with this risky bread baking method that I learnt adding extra ingredients to a standard bread recipe can drastically alter the consistency, texture and composition of your final loaf, unless preventative measures are taken. However, as luck would have it, there were no bread-based culinary disasters to report.

Adding extra ingredients may be tasty, but can also ruin your loaf if you aren't careful!

 I'm sure I am not the only one who finds baking bread a great stress reliever - not only is kneading a great way to vent some steam, but at the end of the day you have a delicious, warm, freshly baked loaf to look forward to. 
However, with much excitement on my behalf, and under strict instructions not to break it, Ray allowed me to use her beloved Kitchenaid to mix and knead the dough for our two loaves. While using a Kitchenaid with the bread dough attachment may not be as effective at stress relief as kneading by hand, it is certainly quicker, less tiring and generally more fun - especially when baking two separate loaves!
After around ten minutes at "Speed setting two! Nothing more, nothing less!" the bread dough was smooth and elastic, the equivalent of a good twenty minutes or more of hand kneading.

Smooth and elastic, in only half the time!

 From this point on, I was back in classic bread making territory - place the well kneaded bread dough into an oiled container and cover. Place in a warm area (a difficult thing to find in our house!), and allow the dough to double in size - usually around an hour's time.
Once your mixture has grown, it’s time to 'knock back' the dough - essentially, this process undoes all the work that the yeast has done in the last hour, causing the dough to grow. To knock back the bread, lightly flour a clean and dry surface, and begin pushing out the pockets of air that have grown within the dough. While you may feel the last hour of waiting has gone to waste, it is a vital process in getting that perfect loaf texture! Be sure to get all of the air pockets out, otherwise when your bread bakes you will have large holes within the body of bread itself - not so good when you want to slice your loaf and put butter on it!

Looking good so far.

 Once you are satisfied your dough is knocked-back enough, unfortunately it is time to play the waiting game again. Once you have grabbed your loaf tins, and have greased them, shape the dough into rugby balls and place it into your tins. Stick on your oven, but don’t be too hasty to put the bread in just yet - it needs to prove first. To me this is the worst part about making bread - you are so close to that delicious, warm smell of freshly baked bread - and yet you have to hide your bread away for another half an hour before you can even think about putting it in the oven, Just as well really, as our oven takes a life-time to warm up!

Not long to go now, but it feels like an age!

 Once the bread has proved for the final time, after around thirty minutes - it is finally time to bake! This is, without doubt the best part, other than the eating of your loaf of course! The smell fills the house, and I have to admit, a certain feeling of pride is not uncommon at this point - even if you bake bread every single day, each loaf is always a special thing!

What you have been waiting for!

 When your loaf is cooked allow it to cool and enjoy, you deserve it!


Jonny

Monday 5 September 2011

A Day at the Beach: Cheesecake Brownies and Choc Chip Cookies

Let me set the scene...


The above photo is of a row of beach huts in Blyth, a small coastal town in Northumberland. The hut on the far right, fondly known as Lobster, was ours for the day and my full family gathered our deck chairs and picnics and spent the day by the beach. I love an excuse to bake, especially as cake is never fully appreciated in a diet laden household like mine so I jumped at this opportunity.

I've had a Betty Crocker Chocolate Chip Cookie mix sitting in my cupboard for ages and knew this was a good time to get rid of it. I did a great job at pretending these were my own recipe and I'm ashamed to say that these went down better than any of my homebakes ever do!


I also chose to make Cheesecake Brownies from The Ultimate Philadelphia Cookbook. Although I like the idea of this book, I feel some of the recipes were put together without any regard as to whether the cream cheese works as an element and it certainly didn't in this recipe.

It's very rare that I don't get to use my mixer when baking but the brownies were made completely in a pan, alike the jumbles I made previously.


The recipe told you to swirl the cheesecake mix on top of the brownie batter but I found that this was inconsistent and some brownies had loads of cheesecake and others none at all. I know it may ruin the idea of the recipe but I feel the cheesecake and the brownie should have been one batter.


Normally, I would never bake two things that have different temperatures and cooking times together at once but, as there were only ten degrees between each and I was short for time, I took the plunge and there were no negative consequences, luckily!


As these were a rushed bake, I had to cut these when they were still warm and they crumbled quite badly as a result. I also found they cooked before the 35-40 minutes and I had burnt edges, so they're definitely a bake to keep your eye on!


The majority of my eatership agreed that, while the brownie was really good, the 'cheesecake' bit was too over powering and was, at times, an unwelcome contrast to the chocolate brownie (my words not theirs!).
In my opinion, Philadelphia has quite a sour flavour and, should I make these again, I'd avoid using it completely. Marscarpone cheese would also work really well as a substitute.


All ready to head off to the beach!


Just to finish, my beautiful cousin Olivia who saw that her brother was on my blog and she wanted to be aswell!


Cheesecake Brownies- adapted from The Ultimate Philadelphia Cookbook

Ingredients:

125g butter- it wasn't specified but I used unsalted
125g dark chocolate, chopped
200g dark muscovado sugar
3 eggs, lightly beaten
50g plain flour, sifted
50g cocoa powder
1/4 tsp baking powder
200g Philadelphia Light- I used regular which may have affected the taste
50g caster sugar- I suggest more than this!

Method:

-Preheat the oven to 180C/gas 4 and grease and line a rectangular cake tin or a tray bake pan
-Mix the chocolate, butter and muscovado sugar in a saucepan and stir over a medium heat until the mixture has melted.
-Remove from the heat and whisk in the eggs after allowing it to cool for a few minutes
-Sift in the flour, cocoa and baking powder and mix until combined.
-Spoon into the prepared tin and level off
-Beat in the Philadelphia and caster sugar until smooth and creamy then spoon randomly over the chocolate mixture and swirl with the tip of a knife
-Bake for 35-40 minutes or until cooked through
-Allow to cool before slicing- otherwise it goes all mushy like mine did!
Enjoy!
Related Posts Plugin for WordPress, Blogger...